RV water tanks are essential to any recreational vehicle, providing clean water for various purposes such as drinking, cooking, and bathing. However, over time, these tanks can accumulate sediment, bacteria, and other pollutants that can affect the water quality and pose health risks. Regular cleaning of RV water tanks is crucial to ensure a safe and hygienic water supply during your travels. If you’re wondering how to clean RV water tank, read on for some helpful tips and methods.
Understanding the RV Water Tank
Types of RV Water Tanks
RV water tanks come in various types, each with its advantages and considerations:
Plastic Tanks:
Plastic is the most common material for RV water tanks due to its lightweight nature, durability, and cost-effectiveness. It exhibits resistance to corrosion, is easy to install, and comes in different sizes to accommodate various RV models.
Metal Tanks:
While less common, some RVs may have metal water tanks like stainless steel or aluminium. Metal tanks offer better insulation, which helps in maintaining water temperature. They are also less prone to algae growth. However, metal tanks may be heavier and more expensive than their plastic counterparts.
Bladder Tanks:
Bladder tanks are flexible, collapsible water storage containers that can be installed in tight spaces. They are popular in smaller RVs or unconventional vehicles where traditional tanks may not fit. Bladder tanks are typically made of reinforced fabrics, and when not in use, it is easy to remove and store them.
Components of an RV Water System
An RV water system consists of several vital components that work together to provide a functioning water supply:
Water Tank:
The water tank is the RV’s main storage container for fresh water. It holds the water supply for everyday use, such as drinking, cooking, and showering.
Water Pump:
The water pump pressurizes the water system, drawing water from the tank and delivering it to the faucets and appliances throughout the RV. It ensures a steady and consistent flow of water.
Plumbing:
The system comprises pipes, connectors, and fixtures that distribute water within the RV. It includes hot and cold water lines and various valves, faucets, and drains. The plumbing system connects the water tank, pump, and appliances, allowing water to flow throughout the RV’s living spaces.
Common Contaminants Found in RV Water Tanks
RV water tanks can be prone to contaminants, impacting water quality and posing health risks. Some common pollutants include:
Sediment:
Sediment can accumulate in the water tank over time, originating from various sources, such as minerals in the water supply or debris that enters the tank. It can cause clogging, affect water clarity, and create unpleasant tastes or odours.
Bacteria and Algae:
Stagnant water in the tank can become a breeding ground for bacteria and algae. If consumed, these microorganisms can multiply rapidly, leading to foul smells, discoloration, and potential health concerns.
Mineral Deposits:
The presence of excessive minerals such as calcium and magnesium in hard water can result in the accumulation of mineral deposits within the tank. These deposits can affect the water system’s performance, including clogging pipes, reducing water flow, and damaging components.
Regular cleaning and maintenance of RV water tanks are essential to address these contaminants and ensure a safe and clean water supply for the occupants of the RV.
Preparing for Cleaning
Gathering necessary supplies and equipment
Before cleaning the RV water tank, gather the following supplies and equipment:
Cleaning agents:
Choose a suitable cleaning agent based on your preference and the tank’s material. Options include chlorine bleach, vinegar, baking soda, or commercially available RV tank cleaners.
Protective gear:
Ensure your safety by wearing gloves, eye protection, and a mask to prevent any potential contact with harmful chemicals or contaminants.
Cleaning tools:
You may need a scrub brush, sponge, or soft cloth to clean the tank’s interior surfaces. Keep a bucket, hose, and water source nearby for the cleaning process.
Ensuring safety precautions
When dealing with the RV water tank, take the following safety precautions:
Ventilation:
Ensure proper ventilation in the area to prevent the accumulation of fumes or chemicals.
Proper handling of cleaning agents:
It is important to adhere to the instructions and safety guidelines provided by the manufacturer of the selected cleaning agent. It is advised to refrain from combining different cleaning agents, as this can potentially lead to hazardous reactions.
Safe disposal of wastewater:
When draining the tank, direct the wastewater into an appropriate disposal system, such as a designated sewage or wastewater facility.
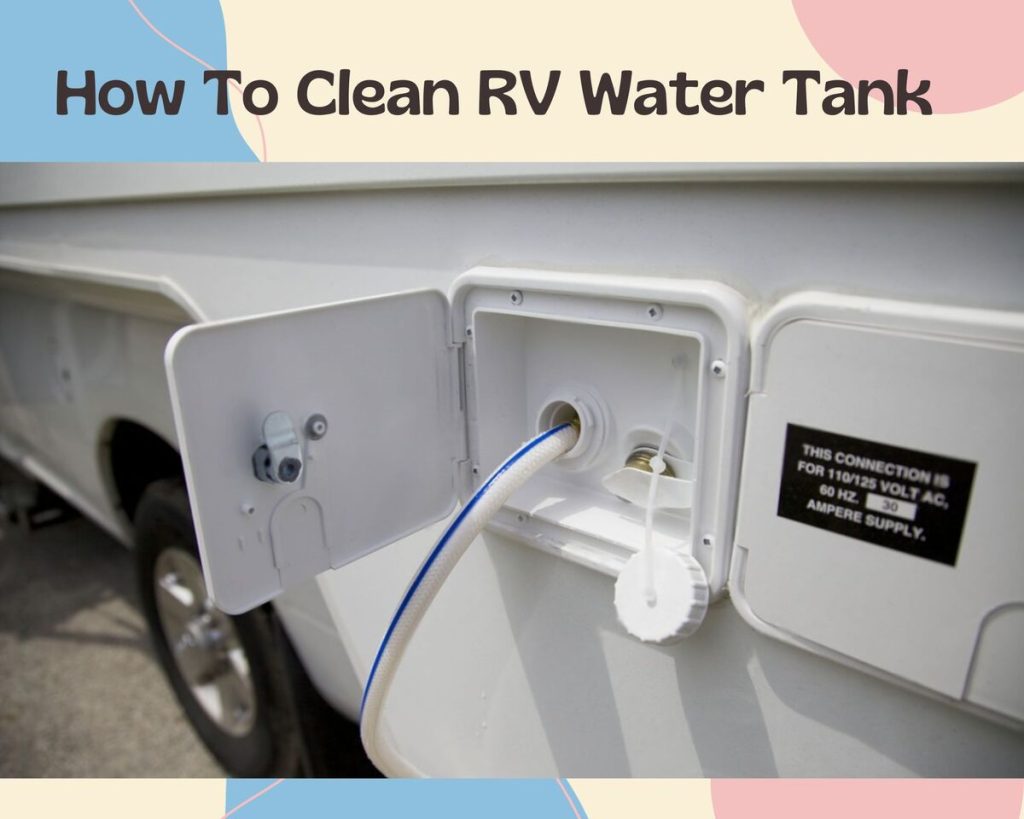
Draining the RV water tank
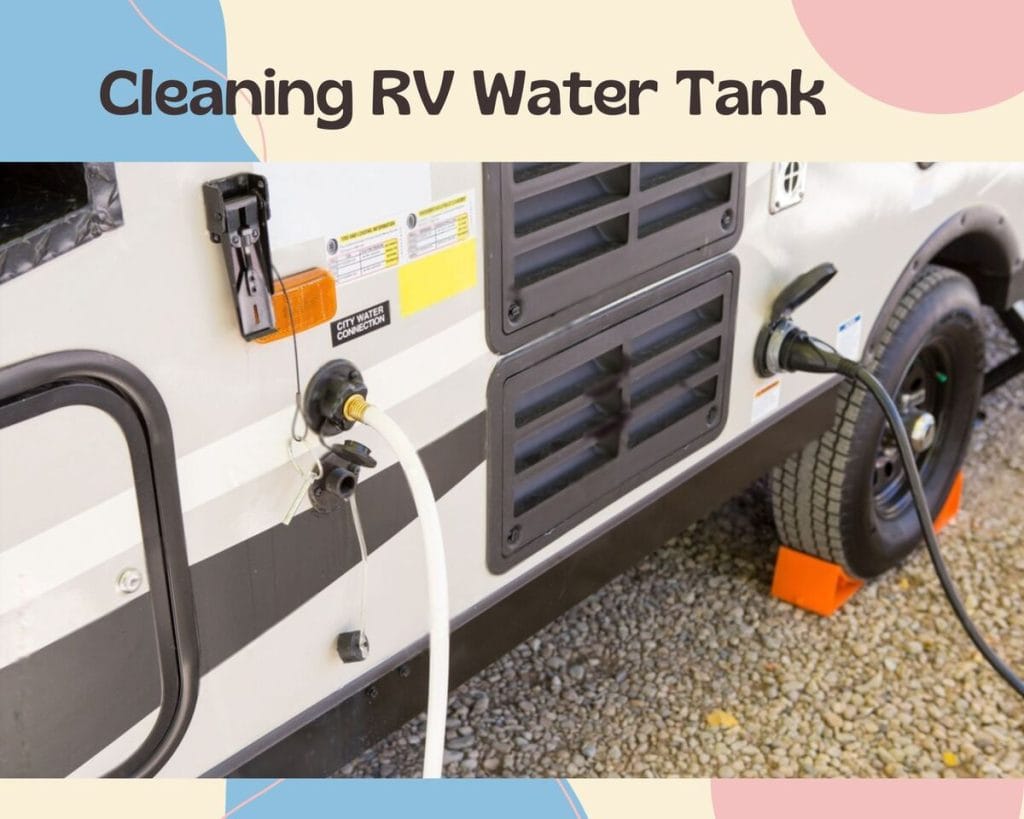
To prepare for cleaning, follow these steps to drain the RV water tank:
Turn off the water supply:
Shut off the water source or disconnect the RV from the external hookup to prevent new water from entering the tank.
Open faucets and drain valves:
Open all faucets and valves inside the RV to release any water pressure and allow the water in the tank to drain.
Drain the tank completely:
Locate the drain valve or outlet on the tank and open it to empty the remaining water. Ensure all water is expelled from the tank before proceeding with the cleaning process.
Cleaning Methods
Chlorine Bleach Treatment
Follow these steps to clean the RV water tank using chlorine bleach:
Mixing the bleach solution:
Prepare a cleaning solution by mixing a specific amount of chlorine bleach (following the manufacturer’s instructions) with a suitable quantity of water in a container.
Adding the solution to the water tank:
Add the bleach solution to the RV water tank by pouring it through the tank’s fill port or designated access point. Take care not to overfill the tank.
Flushing and rinsing the tank thoroughly:
Once the solution is added, close the tank’s access point securely. Turn on the water pump and open all faucets, allowing the bleach solution to circulate through the plumbing system for several minutes. Then, drain the solution by opening the tank’s drain valve and flushing the tank with clean water until the bleach smell dissipates.
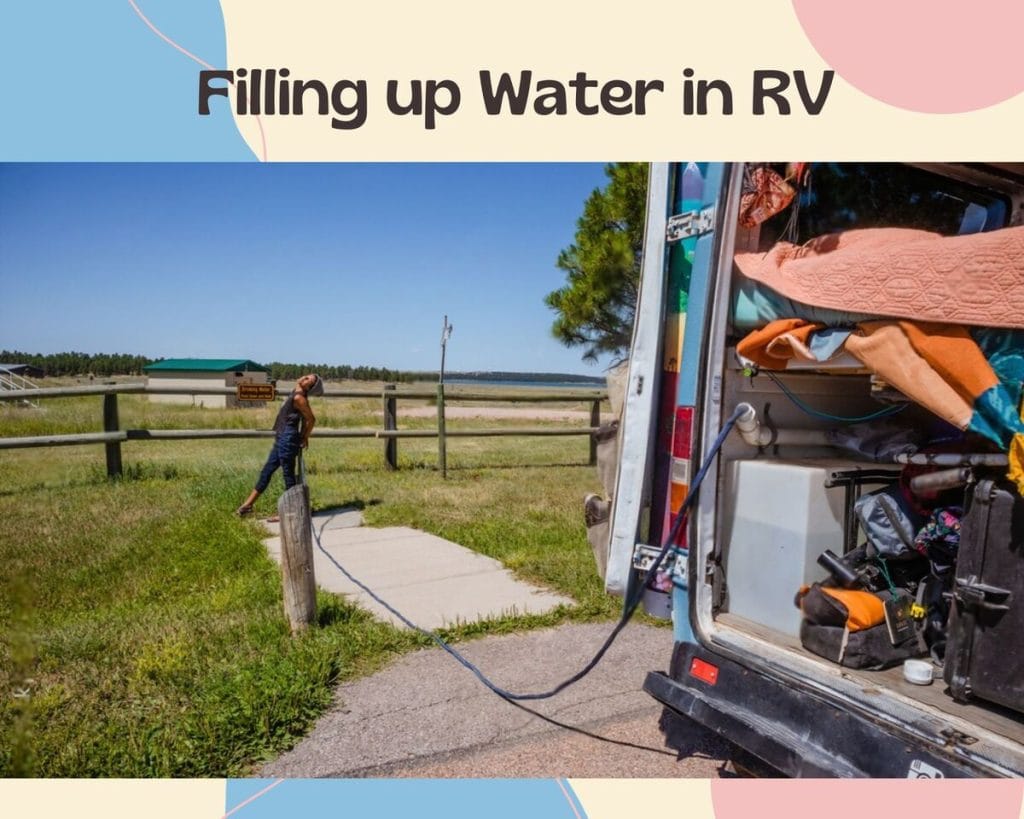
Re-filling the tank with clean water:
Close all faucets and drain valves. Fill the tank with clean water, ensuring it is properly sealed. The water is now ready for use.
Other cleaning options and products available in the market
Commercial RV water tank cleaners:
Various commercial RV water tank cleaning products are available in the market. These cleaners are specifically formulated to target and remove common contaminants in RV water tanks. They often come in liquid or powder form and contain ingredients that break down deposits, eliminate odors, and sanitize the tank. To ensure effective cleaning, they may require specific mixing ratios, contact times, and rinsing procedures.
Water filtration systems:
Installing a water filtration system in your RV can help maintain water quality and reduce the buildup of contaminants in the tank. Different types of water filtration systems are available, such as activated carbon filters, sediment filters, and reverse osmosis systems. These filters can remove impurities, sediment, chlorine, and bacteria from the water supply, improving the water’s taste, odor, and overall quality. Regularly replacing or maintaining the filters is essential to ensure their effectiveness.
Maintenance Tips
For a water supply in your RV that is clean and safe, make sure to follow these maintenance tips:
Regular inspection of the RV water tank:
Periodically inspect the tank for any signs of damage, leaks, or wear. Look for cracks, rust, or loose fittings. Take immediate action to resolve any issues in order to prevent additional damage and contamination.
Proper storage and handling of the RV water system:
During periods of non-use, such as winter or extended storage, properly winterize the RV water system according to the manufacturer’s instructions. This may involve draining the tank, clearing the plumbing lines, and adding antifreeze. Store the RV in a dry and protected environment to prevent damage to the water system.
Routine flushing and sanitizing of the water system:
Regularly flush and sanitize the RV water system to maintain water quality. This involves draining the tank, flushing the plumbing lines with clean water, and adding a sanitizer, such as chlorine or hydrogen peroxide, to disinfect the system. Follow the recommended guidelines for contact time and rinsing to ensure effective sanitization.
Conclusion: How to Clean RV Water Tank
Regular cleaning and maintenance of the RV water tank are essential for maintaining a clean and safe water supply. You can choose appropriate cleaning methods by understanding the different types of tanks, components of the water system, and common contaminants. Whether using chlorine bleach, vinegar, baking soda, or commercial cleaners, ensure thorough rinsing to remove residues. Additionally, incorporating regular inspections, proper storage, and routine flushing and sanitizing practices will help keep your RV water system in optimal condition. By following these guidelines, you can enjoy clean and refreshing water during your travels and ensure the health and well-being of you and your fellow travelers.