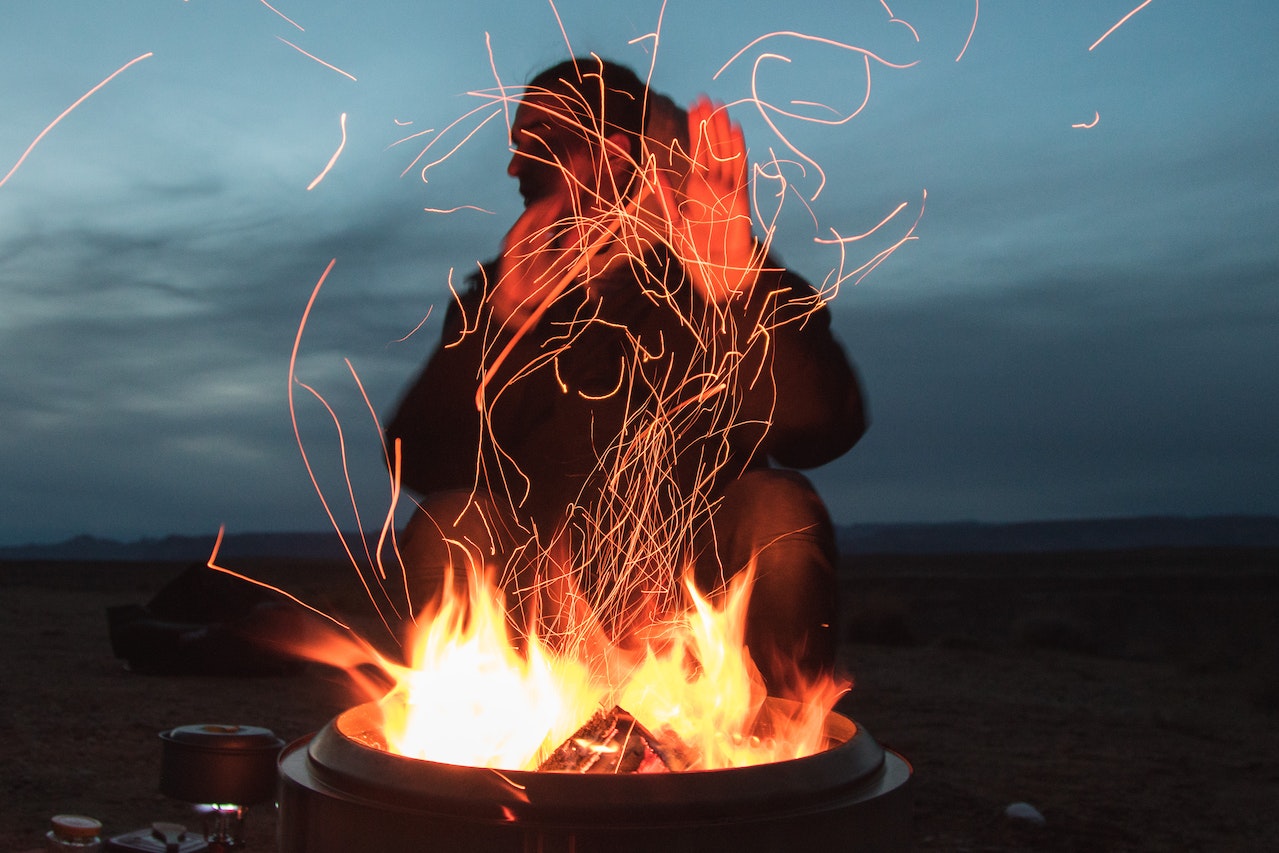
Starting a campfire can be a fun and enjoyable outdoor activity, whether camping, hiking, or in the backyard. A campfire provides warmth, light, and a place to cook food, making it an essential element of many outdoor experiences. However, starting a campfire also requires caution and responsibility, as fires can be dangerous if improperly handled. This article will discuss different methods to start a campfire safely and effectively.
How to Start a Campfire
Let’s polish your fire-making skills before your next backpacking or camping trip.
Classic Teepee Campfire
The Classic Teepee Campfire is a method of building a campfire where the tinder and kindling are arranged in a teepee shape, with the fuel logs placed on top.
To create a Classic Teepee Campfire:
- Choose a safe location for the campfire, as described in the previous outline.
- Gather materials for the fire, including tinder, kindling, and fuel.
- Prepare the fire pit by clearing the area, digging a shallow pit, or using a fire ring or pit.
- Place the tinder in the center of the pit and arrange the kindling around it in a teepee shape, leaving an opening for air to flow through.
- Light the tinder with a lighter or match, and allow the fire to grow. Add more kindling and fuel as the kindling catches fire, keeping the teepee shape intact.
Pros of the Classic Teepee Campfire:
- Easy to build and maintain
- It is suitable for use in a range of circumstances.
- Allows for good airflow, which helps the fire burn efficiently
Cons of the Classic Teepee Campfire:
- It can be difficult to light if the tinder is damp or the wind is strong
- The teepee shape can cause the fire to burn out quickly if not continually fed with fuel
Magnifying Glass
The Magnifying Glass Campfire is a method of starting a campfire using a magnifying glass to focus sunlight onto the tinder, creating enough heat to ignite it.
To create a Magnifying Glass Campfire:
- Choose a safe location for the campfire, as described in the previous outline.
- Gather materials for the fire, including tinder, kindling, and fuel.
- Prepare the fire pit by clearing the area, digging a shallow pit, or using a fire ring or pit.
- Place the tinder in the center of the pit and arrange the kindling around it.
- Use the magnifying glass to focus sunlight onto the tinder, moving the glass around until the tinder begins to smoke.
- Once the tinder is smoking, carefully blow on it to encourage the flames to spread. As the kindling catches fire, gradually add more kindling and fuel.
Pros of the Magnifying Glass Campfire:
- Suitable for use in many different circumstances.
- It does not require matches or a lighter
- It can be a fun and educational activity for kids
Cons of the Magnifying Glass Campfire:
- Requires clear, sunny weather to work effectively
- It can be challenging to start the fire if the tinder is damp or the sun is not strong enough
- Controlling the flames can be challenging and may spread if not properly monitored.
Flint
The Flint Campfire starts a campfire using flint and steel to create sparks that ignite the tinder. To create a Flint Campfire:
- Choose a safe location for the campfire, as described in the previous outline.
- Gather materials for the fire, including tinder, kindling, and fuel.
- Prepare the fire pit by clearing the area, digging a shallow pit, or using a fire ring or pit.
- Place the tinder in the center of the pit and arrange the kindling around it.
- Hold the flint in one hand and the steel in the other. Strike the flint with the steel to create sparks, aiming them at the tinder.
- Once the tinder is smoking, carefully blow on it to encourage the flames to spread. As the kindling catches fire, gradually add more kindling and fuel.
Pros of the Flint Campfire:
- It does not require matches or a lighter
- It can be a fun and educational activity for kids
- For a variety of situations
Cons of the Flint Campfire:
- It can be challenging to master the technique of creating sparks with a flint and steel
- It can be time-consuming to start the fire
- The flames can be difficult to control and may spread if not appropriately tended.
Log Cabin campfire
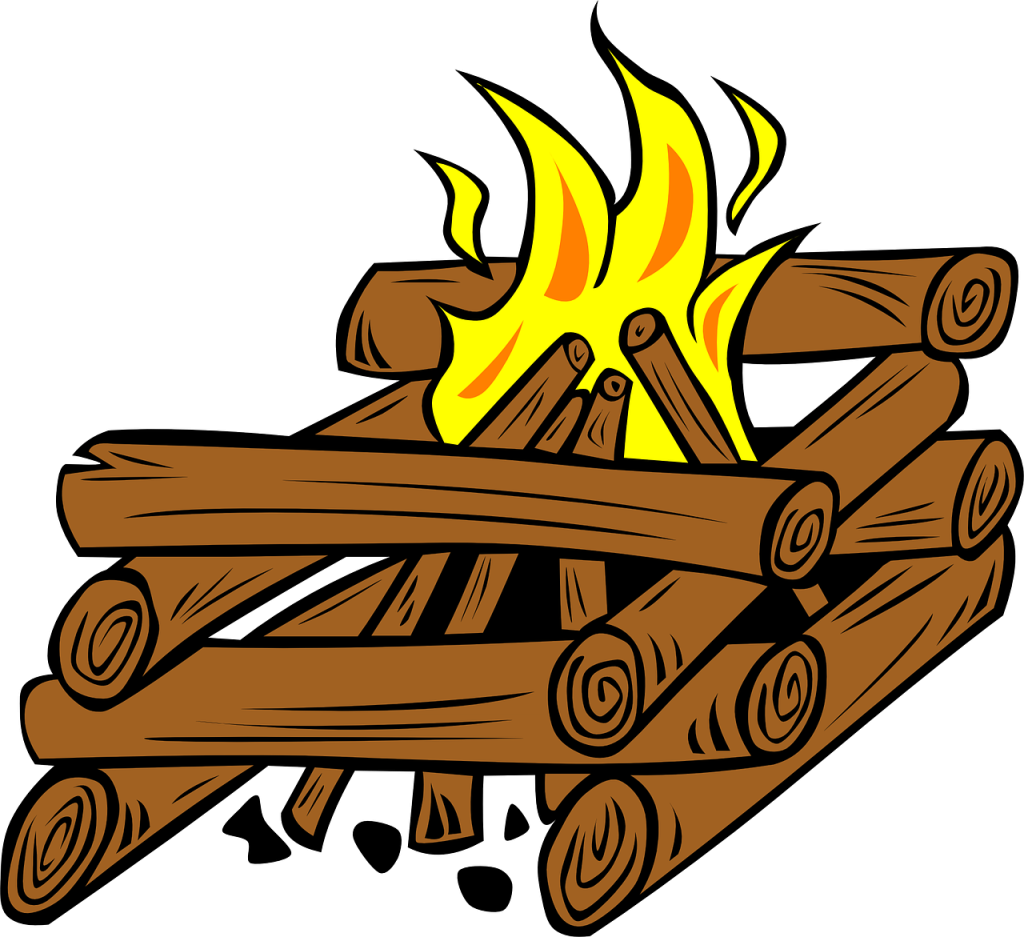
A Log Cabin campfire is a type of campfire that is built using a log cabin-style arrangement of logs. To create a Log Cabin campfire, you will need a supply of dry, seasoned logs and a flat, clear area to build a fire.
To start, arrange four logs in a square, with the ends touching to form the corners of the “cabin.” Place additional logs on top of these, overlapping them like the logs in a log cabin are stacked. Once you have formed a base for the fire, add kindling and tinder to the center of the square and light the fire.
Pros of Log Cabin Campfire
There are several pros to building a Log Cabin campfire:
- The log cabin arrangement provides a sturdy, stable structure supporting a large fire.
- The logs in the cabin help to reflect heat onto the fire, which can help it burn more efficiently.
- The log cabin design allows for good airflow, which can help the fire to burn more evenly and reduce the risk of it going out.
Cons of Log Cabin Campfire
There are also some cons to consider when building a Log Cabin campfire.
- One potential downside is that the log cabin arrangement can be more time-consuming to build than other campfires.
- Additionally, if the logs are properly seasoned or too wet, they may be accessible to light and not burn as efficiently.
- Finally, the log cabin design may not be as effective at providing heat as other types of campfires, especially if the logs are not arranged to allow good airflow.
Upside-Down Fire
The Upside Down Fire is a campfire where the fuel logs are placed in the fire pit first, with the tinder and kindling placed on top. To create an Upside Down Fire:
- Choose a safe location for the campfire, as described in the previous outline.
- Gather materials for the fire, including tinder, kindling, and fuel.
- Prepare the fire pit by clearing the area, digging a shallow pit, or using a fire ring or pit.
- Place the fuel logs in the fire pit, arranging them in a row or crisscross pattern.
- Place the tinder and kindling on top of the fuel logs.
- Start the fire by lighting the tinder with a match or lighter, and allow the fire to grow. As the kindling catches fire, the heat will gradually work through the fuel logs, lighting them from the bottom up.
Pros of the Upside Down Fire:
- It can burn for a long time, as the fuel logs are lit from the bottom up and burn slowly
- It can be easier to light than other methods, as the tinder and kindling are protected from the wind by the fuel logs
- It is the best method when the forest floor or land is wet.
Cons of the Upside Down Fire:
- It can be challenging to build, as the fuel logs must be arranged in the fire pit first
- It can be difficult to control the size of the fire, as the fuel logs may burn too slowly or too quickly
- The flames can be difficult to control and may spread if not appropriately tended.
The Battery and Steel Wool Method
The Battery and Steel Wool Method is a way to start a campfire using a nine-volt battery and steel wool. To create a fire using this method:
- Choose a safe location for the campfire, as described in the previous outline.
- Gather materials for the fire, including tinder, kindling, and fuel.
- Prepare the fire pit by clearing the area, digging a shallow pit, or using a fire ring or pit.
- Place a small bundle of steel wool in the center of the tinder.
- Make contact with a nine-volt battery, causing the steel wool to ignite.
- Once the tinder is smoking, carefully blow on it to encourage the flames to spread. As the kindling catches fire, gradually add more kindling and fuel.
Pros of the Battery and Steel Wool Method:
- It does not require matches or a lighter
- It can be a fun and educational activity for kids
Cons of the Battery and Steel Wool Method:
- Requires a nine-volt battery and steel wool, which may not always be available
- It can be difficult to start the fire if the tinder is damp or the steel wool is too wet
- The flames can be difficult to control and may spread if improperly tended.
Readymade Fire Starter
A Readymade Fire Starter is a pre-packaged product that makes starting a campfire easier. These products can come in various forms, such as fire starter sticks, cubes, or gel. To use a Readymade Fire Starter:
- Choose a safe location for the campfire, as described in the previous outline.
- Gather materials for the fire, including tinder, kindling, and fuel.
- Prepare the fire pit by clearing the area, digging a shallow pit, or using a fire ring or pit.
- Place the Readymade Fire Starter in the center of the pit and arrange the tinder and kindling around it.
- Follow the Readymade Fire Starter package instructions to ignite the fire starter.
- Once the tinder is smoking, carefully blow on it to encourage the flames to spread. As the kindling catches fire, gradually add more kindling and fuel.
Pros of the Readymade Fire Starter:
- Easy to use, as no special skills or equipment are required
- It can be a reliable way to start a fire in challenging conditions
Cons of the Readymade Fire Starter:
- Can be expensive
- It may not always be available
- The flames can be difficult to control and may spread if not appropriately tended.
Some Precautions on How to Start a Campfire
- Choose a safe location for the campfire, away from trees, bushes, and other flammable objects.
- Obtain necessary permits and follow local regulations or guidelines for building a campfire.
- Use an established fire pit or ring, or dig a shallow pit in the ground
- Clear the area of leaves, grass, and other debris that could catch fire
- Gather materials for the fire, including tinder, kindling, and fuel, and have them ready before lighting the fire
- Keep a fire extinguisher, water, or dirt nearby if the fire gets out of control
- Ensure that someone always watches and extinguishes the fire before leaving the area.
- Avoid building a campfire in high winds or during dry, hot conditions that could increase the wildfire risk.
Conclusion:
Starting a campfire involves careful planning and consideration of safety. It is essential to choose a safe location for the campfire and gather the necessary materials, such as tinder, kindling, and fuel. By following proper procedures, you can enjoy the warmth and ambiance of a campfire without risking accidents or damage to the surrounding environment.
Popular Articles: